Temperature
An important factor when maintaining a bread starter at home is the temperature at which it’s stored. The lower the temperature, the slower the starter will grow. Conversely, a higher temperature speeds up the fermentation process, which means your starter will mature and rise more quickly. This has both pros and cons.
How Temperature Affects Fermentation
One advantage of higher temperatures is that the starter matures faster, which is great if you need a strong, active starter in just a few hours. In that case, warmer temperatures work in your favor. On the other hand, if you’re feeding your starter and want it to be ready the next day, higher temperatures can be a drawback. The starter may pass its peak and deflate, becoming less active when you actually need it. In this case, storing the starter at a lower temperature is the better option.
It’s also important to note that different types of bacteria thrive at higher temperatures compared to lower ones. Without going into too much detail, just keep in mind that a starter kept at a higher temperature will develop a more pronounced flavor, as the acidity increases in warmer conditions compared to a starter maintained at a lower temperature.
Optimal Temperatures for Rye Starters
But what exactly do we mean by “higher” and “lower” temperatures? It all depends on the type of flour you’re using to feed your starter. Starters fed with rye flour have higher temperature requirements, with rye starters preferring temperatures as high as 29°C. This doesn’t mean you need to keep it at that temperature all the time, but it’s beneficial to maintain a higher temperature of around 25°C for about an hour after feeding. After that, the temperature can return to room temperature, typically around 19-22°C.
If your starter is strong, you can sometimes skip the warming step after feeding. Still, it’s a good idea to occasionally give a starter kept at lower temperatures a boost by warming it to around 25°C. This helps stimulate and build up the starter’s activity and strength.
So, for rye starters, lower temperatures would be in the 19-22°C range, while higher temperatures would be 24°C and above. Lower temperatures help slow down the fermentation process and extend the intervals between feedings.
Optimal Temperatures for Wheat Starters
Wheat starters do well in temperatures starting from 18°C and above. At temperatures over 22°C, the starter grows quickly, and one fed using the 1:1:1 method will be ready in just a few hours. If you don’t want to feed your wheat starter too often, it’s better to keep it at lower temperatures and adjust the flour-to-starter ratio, but that’s a topic for another time.
Wheat flour also handles refrigeration well. A freshly fed starter placed in the fridge will be strong after a few days and can maintain its strength for up to two weeks.
Tools and Tips for Managing Starter Temperature
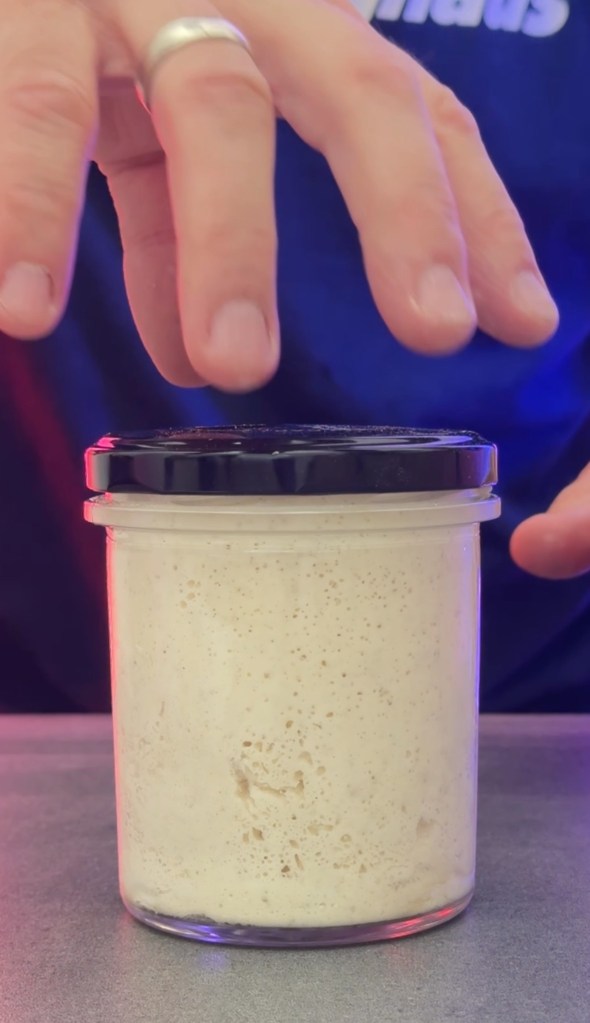
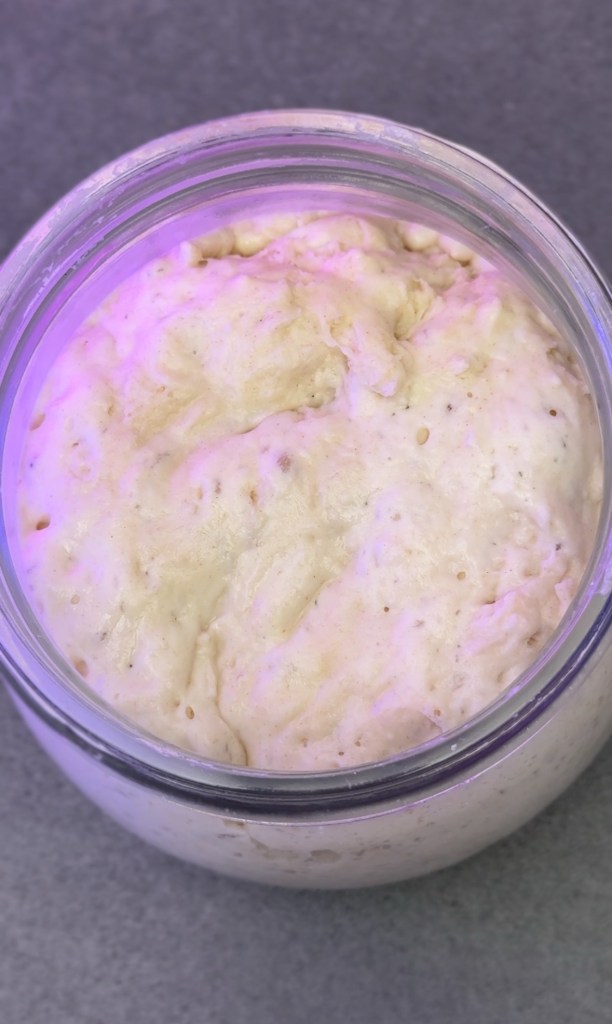
As you can see, the storage temperature of your starter is closely tied to when it reaches its peak and is ready to use or when it needs to be fed again. Many bakers often boast about how quickly their starter doubles in size. A beginner might think that’s the goal, but the real objective is to control your starter and feed it at the right moment so that it’s active when you need it for your recipe. You achieve this by managing variables like storage temperature, the flour-to-starter ratio, or the flour-to-water ratio—all topics for another article.
I strongly recommend observing your starter closely. Use an elastic band to mark the level after feeding, so you can track its growth and learn from it. I also suggest investing in a simple infrared thermometer—it doesn’t need to be fancy. It’ll do the job and let you quickly check the temperature of your starter, as well as your dough during bulk fermentation.
Conclusion
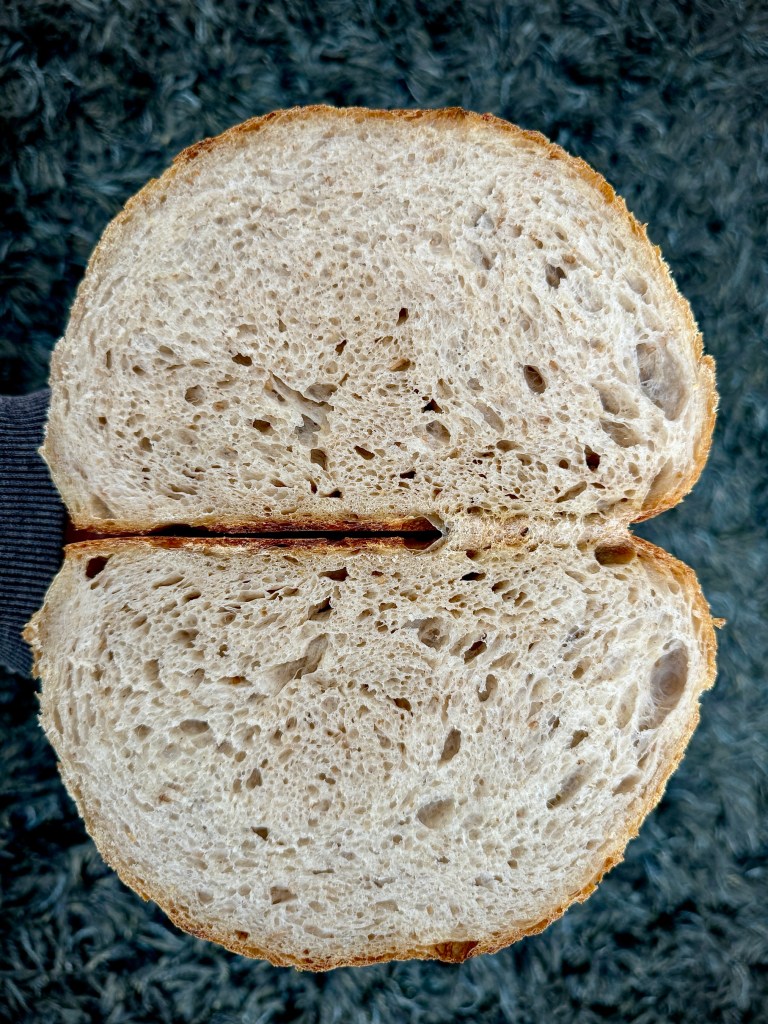
Mastering sourdough starters, whether made from rye or wheat, is all about understanding the factors that influence their growth, like temperature, feeding schedules, and the type of flour you use. By paying attention to these details and experimenting with different conditions, you’ll gain more control over your starter and be able to use it exactly when it’s at its peak.
Remember, there’s no single “right” way to manage a starter—what works best is what fits into your baking routine. Don’t be afraid to experiment, observe, and make adjustments as you go. With a bit of patience and practice, you’ll find the perfect balance for your kitchen.
Happy baking, and may your sourdough always rise!